The bow and arrow is one of the oldest hunting tools known to man. Ancient depictions of bows and arrows used for hunting and warfare can be found in caves and on rocks throughout the entire world. Images of the bow and arrow are also commonly found on artifacts from our ancestor’s daily lives.
It is believed that the bow and arrow pre-date recorded history and came after the rock, and the spear as a weapon system.
The bow and arrow can be a very effective hunting tool even in modern times. Most states have archery only seasons. In fact one county close by only allows bow and arrow hunting of deer. No firearms at all – not even black powder.
A bow and arrow are reliable and much easier to maintain than firearms. And since ammunition has to be manufactured and requires many different stages and precise processes it may be hard to obtain in a SHTF scenario.
Tinkering with and making your own bow and arrows is a great way to build up your prepper skills. Bows can also be fairly inexpensive and they don’t make a lot of noise so you won’t irritate your neighbors … well as long as you don’t shoot into their yard! It’s a perfect fair weather sport.
And a few weeks ago the weather was beautiful. Highs in the low 80’s and a slight breeze out of the north. It was perfect weather for outdoor activities so I grabbed a recurve bow and headed out to do some practicing.
But my practice session didn’t get off the ground. Everything was there, bow, arrows, trigger release, glove, and arm protector. The only thing I needed was a target to shoot at, but where was it.
After looking high and low, through the shed, the carport and all over the yard I spotted a white thing across the street with a red circle on it. Ah! There it was.
Upon inspection, it was shredded! Foam bits were everywhere and the fabric cover looked like a shark attacked it. Best guess is the wind got ahold of it, and then probably the neighbors dog. It was useless!
Since it was just bought recently I didn’t want to buy another one. The first thought was to get a bale of hay from another neighbor, but the hay will attract rodents and will sour with time. Plus the dogs would likely tear it up to lie on.
Surely there had to be something just sitting around that would suffice as a target? After looking through the shop, the barn, and all the outbuildings I came up short. Not until walking into the spare bedroom/office/storage room did an idea come to mind.
All the stuff we order for the household comes in cardboard boxes, and they get flattened and stacked until a time I want to take them out and burn them or use them. I’ve shot at boxes before so I decided to try using layers of cardboard as a target.
Here’s how I put mine together:
Step One:
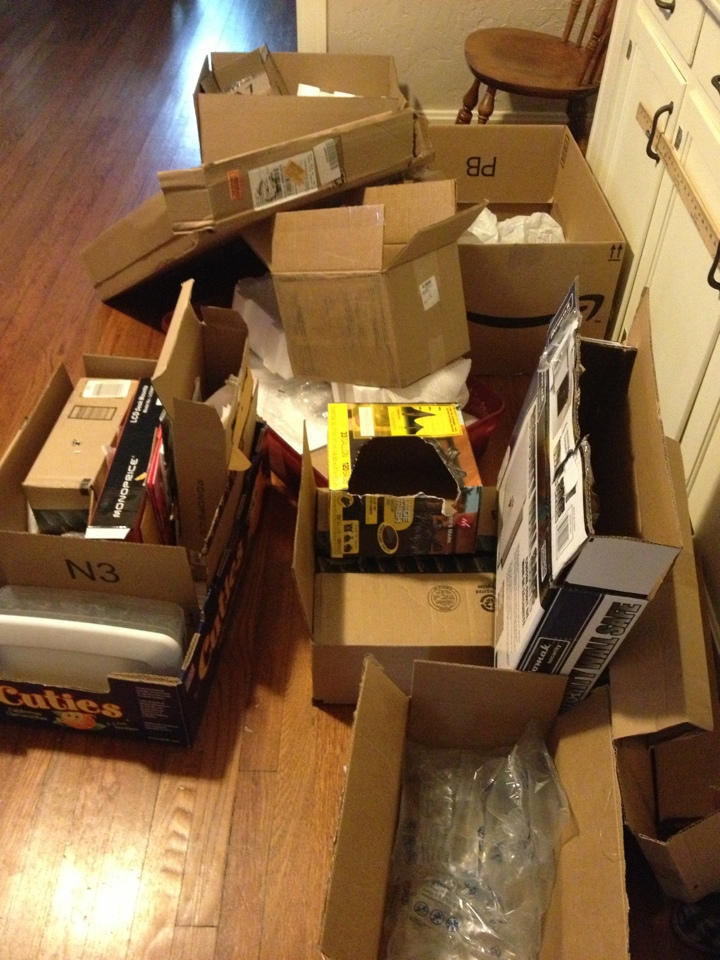
Gather up your boxes and supplies and find a place where you can work on the project.
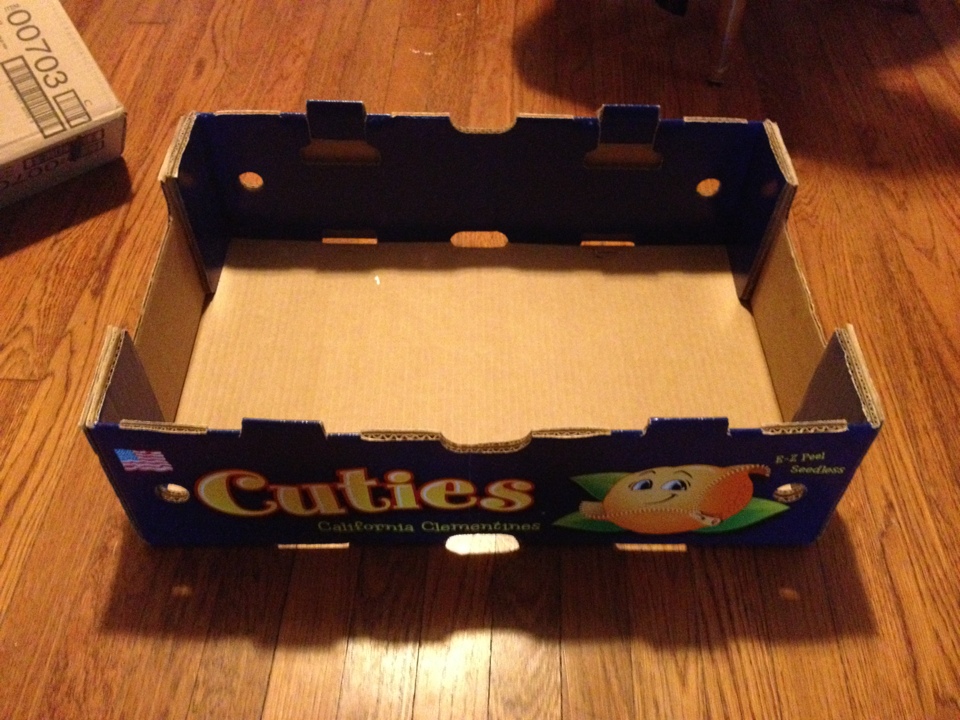
Then pick out your “host” box. This is the box that you will leave whole – except for the top – that you will stack the flattened boxes into. A sturdy open top cardboard tray box that is commonly used for produce works great for this. But any box that’s a good size will do.
Go ahead and take a minute to flatten out your boxes and stack them around your work area where you can reach them and sort through them easily.
Supplies you’ll need:
- Cardboard boxes (flattened)
- Whole cardboard box without a lid
- Duct tape (duh!)
- Sharp box knife
Step Two:
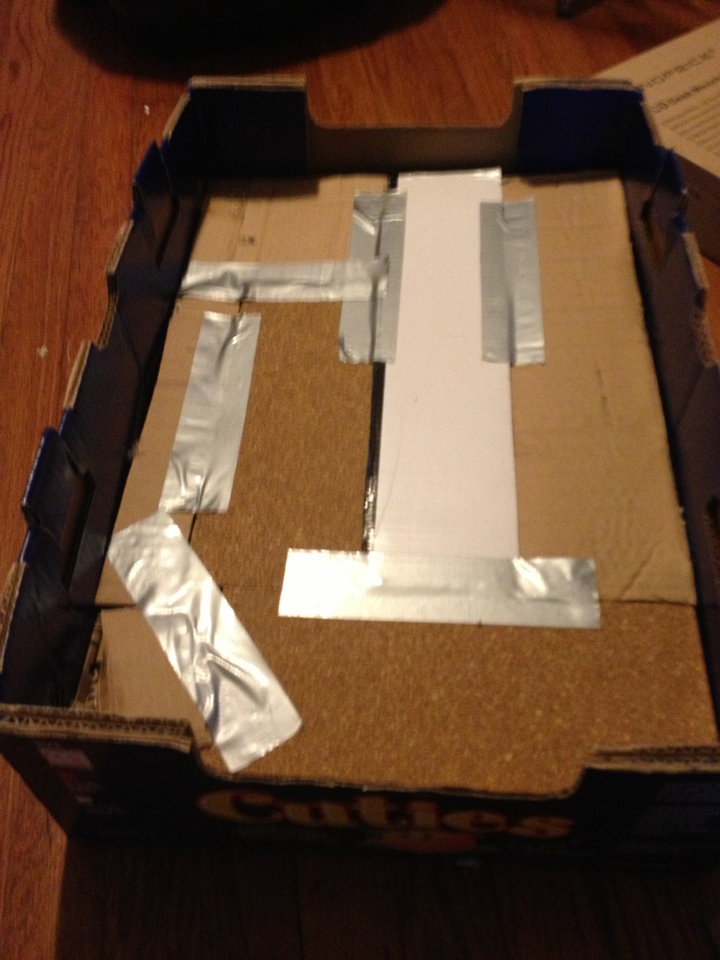
Start placing the flattened cardboard into the host box in layers. Trim them to fit snuggly and cover each layer completely. It was easy to trim the scraps and lay them down in layers. Using duct tape to cover where edges meet is a good idea, this will ensure that your layers stay in place over time.
Step Three:
When you finish your top layer – mine is only 8 inches deep – trim the host box sides down to the level of your layers.
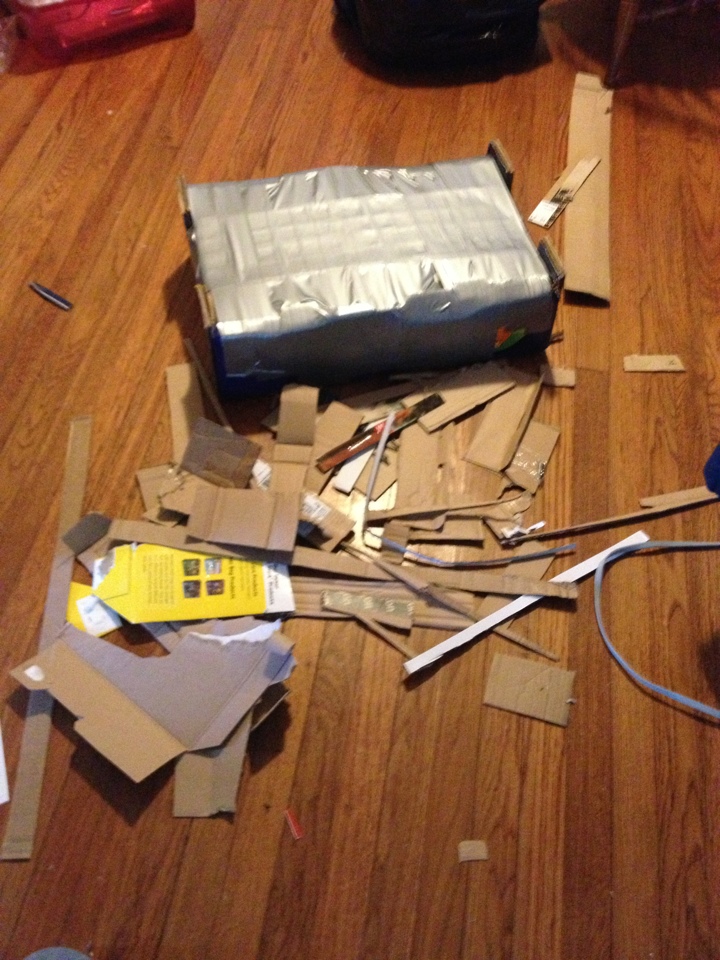
Then just start covering the front with duct tape. Nice and tight in alternating directions. I did both horizontal and vertical. Don’t use to many layers however because duct tape is sticky and will be leaving residue on your arrows as I found out.

Step Four:
Clean up your mess! Your spouse or anyone you live with will appreciate it. Prove that preppers do have manners.
Step Five:
Go practice. You can use a stick to prop up your target or just sit it up against a tree. Use your good judgment as to target placement and the direction you’ll be shooting. We don’t want any accidents.
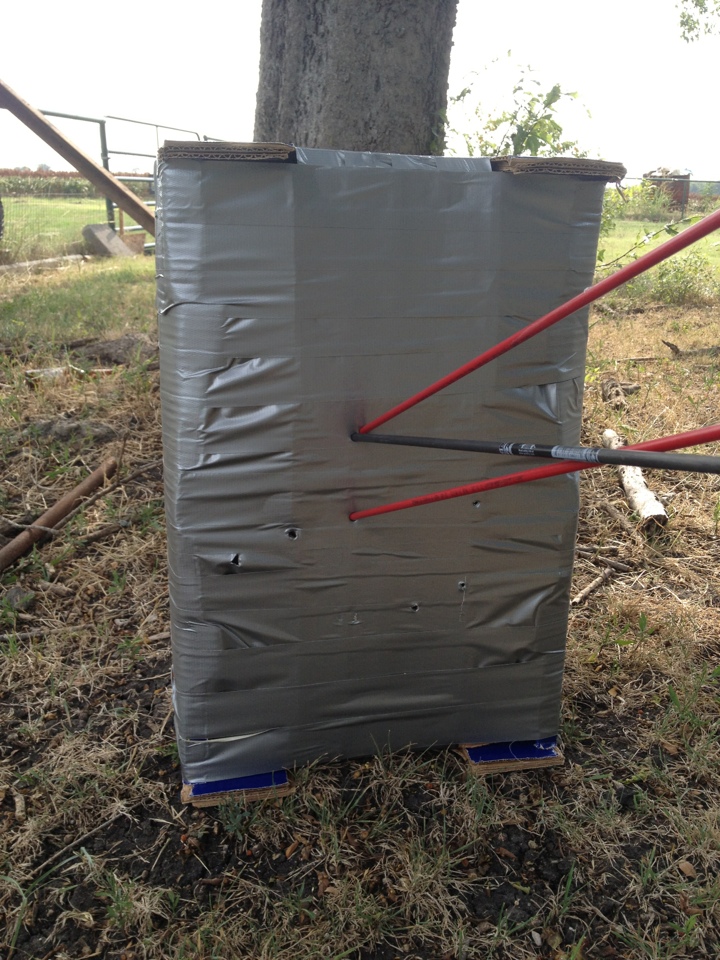
As you see in the target the arrows penetrated about 4 inches with a 55-60lb draw recurve bow. Only about an inch with a youth recurve bow.
Important Tip: Cardboard doesn’t “let go” of arrows the way a foam target will. Use practice arrows that have a tip without any edges to get caught in the target. A couple of my arrows have target heads slightly larger than the arrow shaft and it proved slightly frustrating to pull them out.
Remember archery is a skill learned over time, and with most skills if you don’t practice occasionally then your abilities will decline over time. I’m guilty of not shooting and practicing enough – maybe less so when it cools down – but I know it’s a skill I may need to rely on for survival some day.
If you’ve found a great tip for making your own archery target I’d love to know about it. Jump down to the comments and let us know what your solution is.